 Menu
Menu 


 I’m going to share with you guys today a little secret — I’m actually on vacation out of the country right now (don’t worry our clients are in good hands and I’ll be back tomorrow) but as you can see I have a blog post going out. I’m actually writing this post on March 12, and scheduling it to release on May 15.
I don’t travel too often, usually only a few times per year, but even when I’m not traveling I always use the scheduling feature in WordPress for our blog. I am busy, and I don’t have time every day to remember to write a blog post, so I often write several posts at a time and schedule them using the WordPress scheduler.
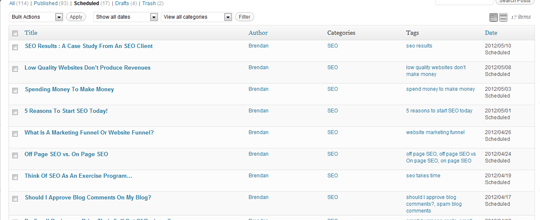
Nearly all the websites we build for our clients these days are in WordPress, and many other design firms also utilize WordPress as well. Today I’m going to walk you through the process of scheduling a blog post in WordPress:
- Sign in to your WordPress admin panel
- Click on “Posts” then “Add New” in your left navigation panel
- Go about writing your blog post as you normally would, adding your title, tags, content, images, etc.
- Instead of hitting the blue “Publish” button on the right, you’re going to click directly above there on “Publish: Immediately – Edit”
- Once you hit “Edit”, you will see the ability to set a date and time to release the blog post. Once you set that date and time, hit “Ok”
- Lastly, hit the blue “Schedule” button and you’re all set!
So many bloggers use this feature because its hard to remember to write content every day for your blog. I personally love it as it saves me time, and allows me to still update our blog regularly even when I’m tied up with clients or in this case having a much needed vacation! If anyone runs into any problems or has questions about this, be sure to leave a comment below and I’ll be more than happy to help walk you through the scheduling of your own blog posts!